Deploying A Csv File To Restful Apis
Posted: Sep 06, 2020 by Alan Giles
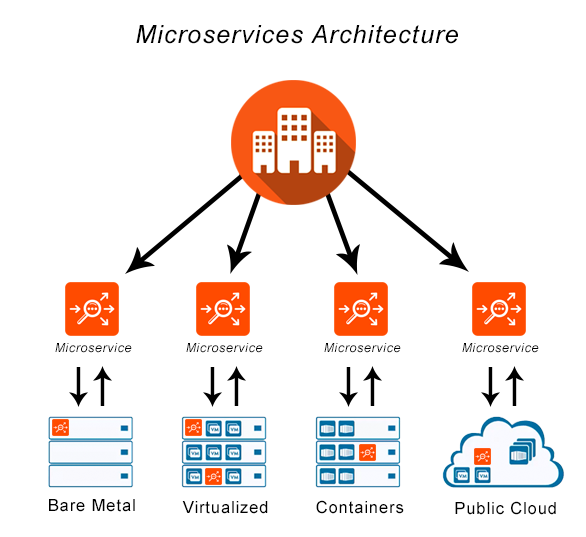
Microservices have become the architecture pattern of choice for most developers and encourages the single responsibility principle. Architectures must scale and support a variety of different clients including desktop browsers, mobile browsers and native mobile applications.
On new or existing projects, we are often faced with a wide variety of static data that needs to be converted into database tables and APIs. Often overlooked at this stage is challenges regarding access patterns, scaling, monitoring and alerting. The Ops part of DevOps has just started to hit home.
In this post we will show you how you can use Sofodata to provision your data as a Secure RESTful API in minutes, letting you get back to building cool, exciting applications and leaving the scaling and operations stuff to us.
This post assumes some pre-existing knowledge of data formats such as CSV and JSON and APIs. No coding required.
Overview
The final API we want to build is a City Name to Country Code lookup. This means we want to query the API by Name with
value Spain and have the API return a response containing the Code of ES as shown below.
    [
        {
            "Name": "Spain",
            "Code": "ES"
        }
    ]
Step 1 - Signup
If you haven’t yet, signup for your free Sofodata account.
Step 2 - Download Sample Data
Download the country-codes.csv from Sofodata’s GitHub account.
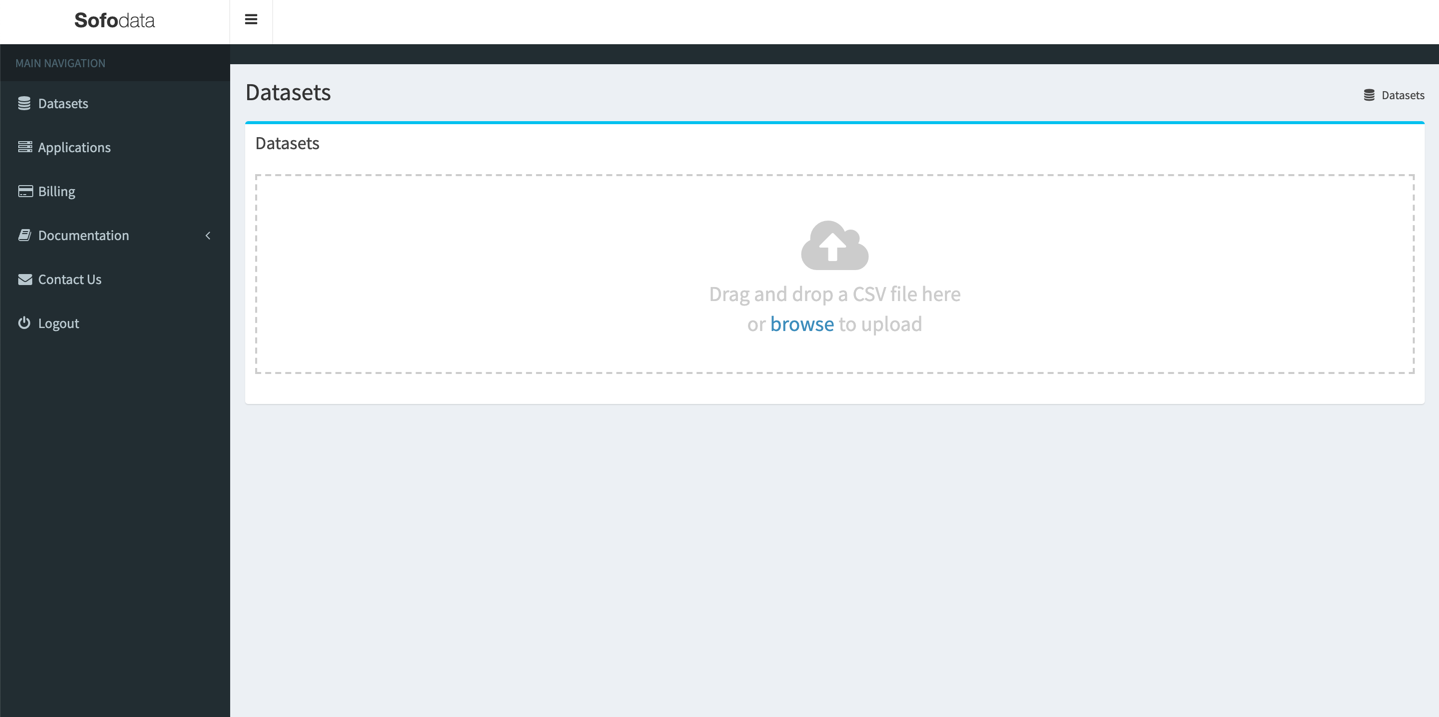
Step 3 - Upload
Navigate to the Sofodata datasets page and drag the country-codes.csv file onto the file upload dropzone or click browse to search for the file to upload.
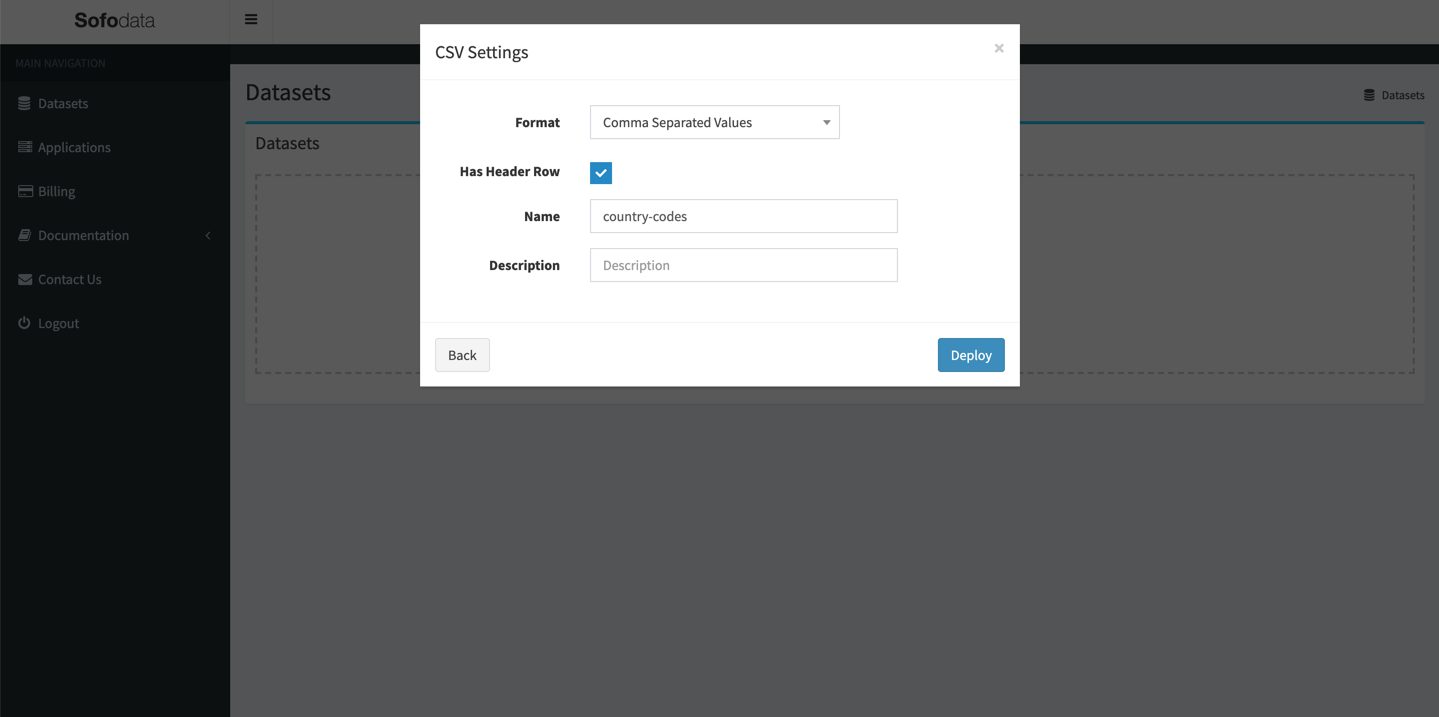
Step 4 - CSV Settings
Once uploading has completed, you need to configure the CSV settings for the file you have just uploaded such as the format, name and description.
For the format select Comma Separated Values.
The country-codes.csv has header columns therefore leave Has Header Row as checked.
The Name of your dataset will be automatically populated to the file name, less the file suffix. You can name it (almost) anything you like but for this example lets leave it as country-codes. You can always rename it to something more meaningful later.
You can leave Description as blank. Again you can change it to something more meaningful later.
Click the Deploy button to trigger a deployment of your dataset, which will automatically provision a new API for you.
Step 5 - Deployment Process
Depending on the size of your dataset, the deployment process can take from a couple of seconds to several minutes to complete. No need to grab a coffee yet.
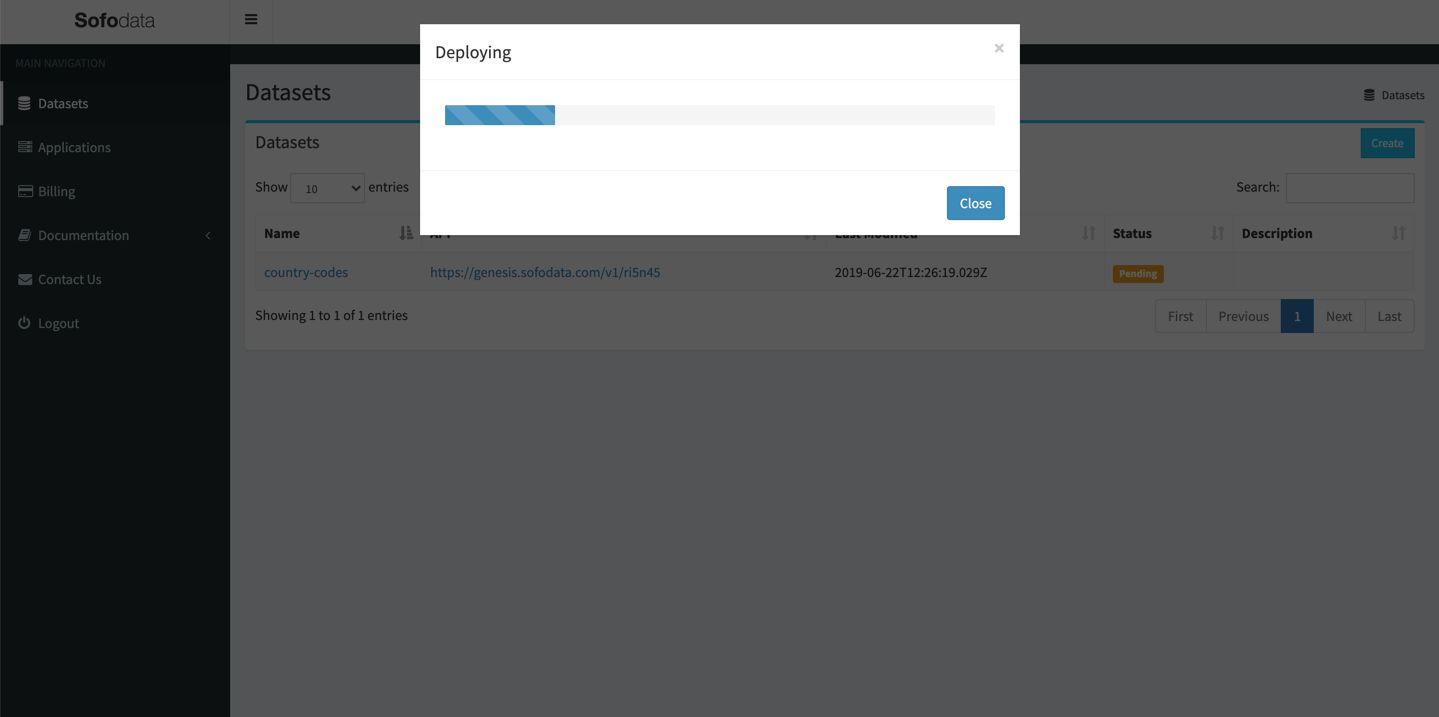
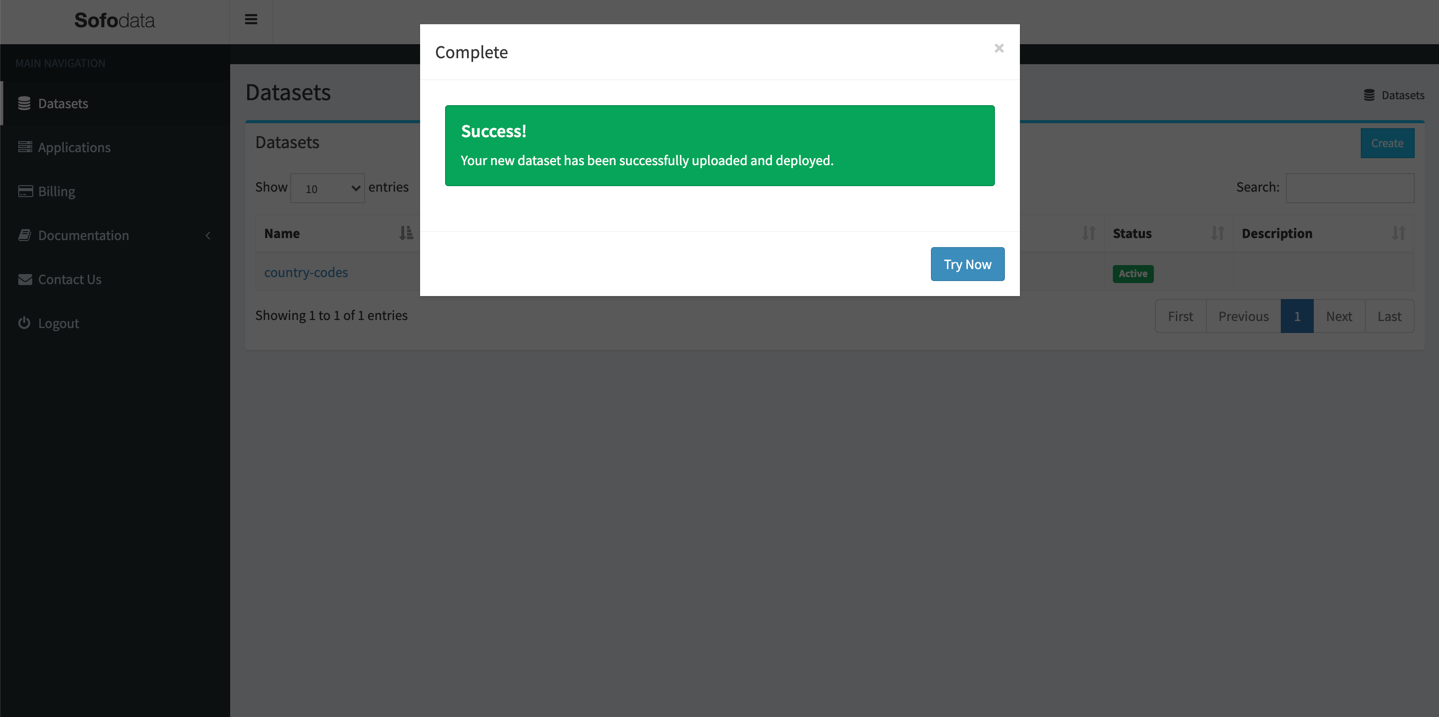
Step 6 - Deployment Complete
Awesome!!. Your new API has now successfully been deployed. Let’s give it a go.
Click the Try Now to open up the testing page.
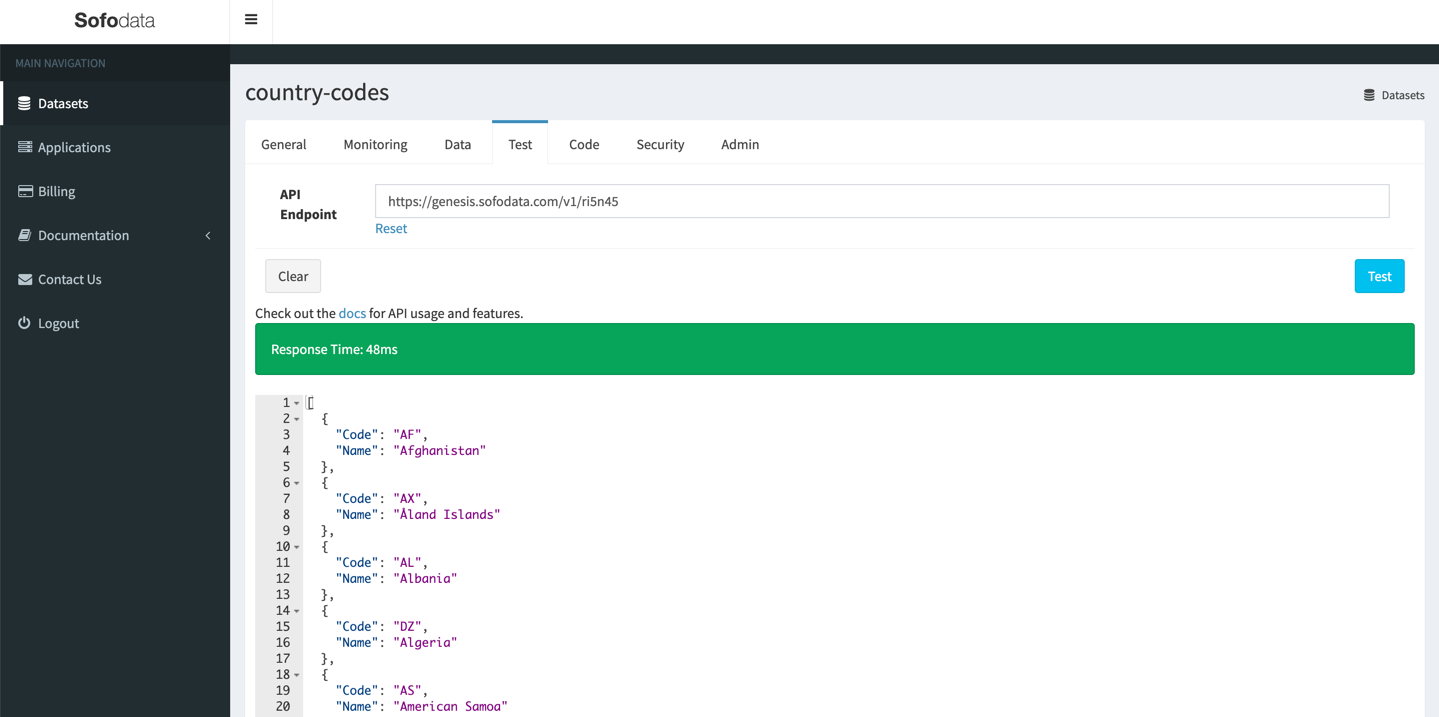
Step 7 - Test Your API
Every dataset that you deploy comes with a testing page, that enables you to run interactive queries against your dataset’s API.
Click the Test button.
A response from the API should be received as shown below.
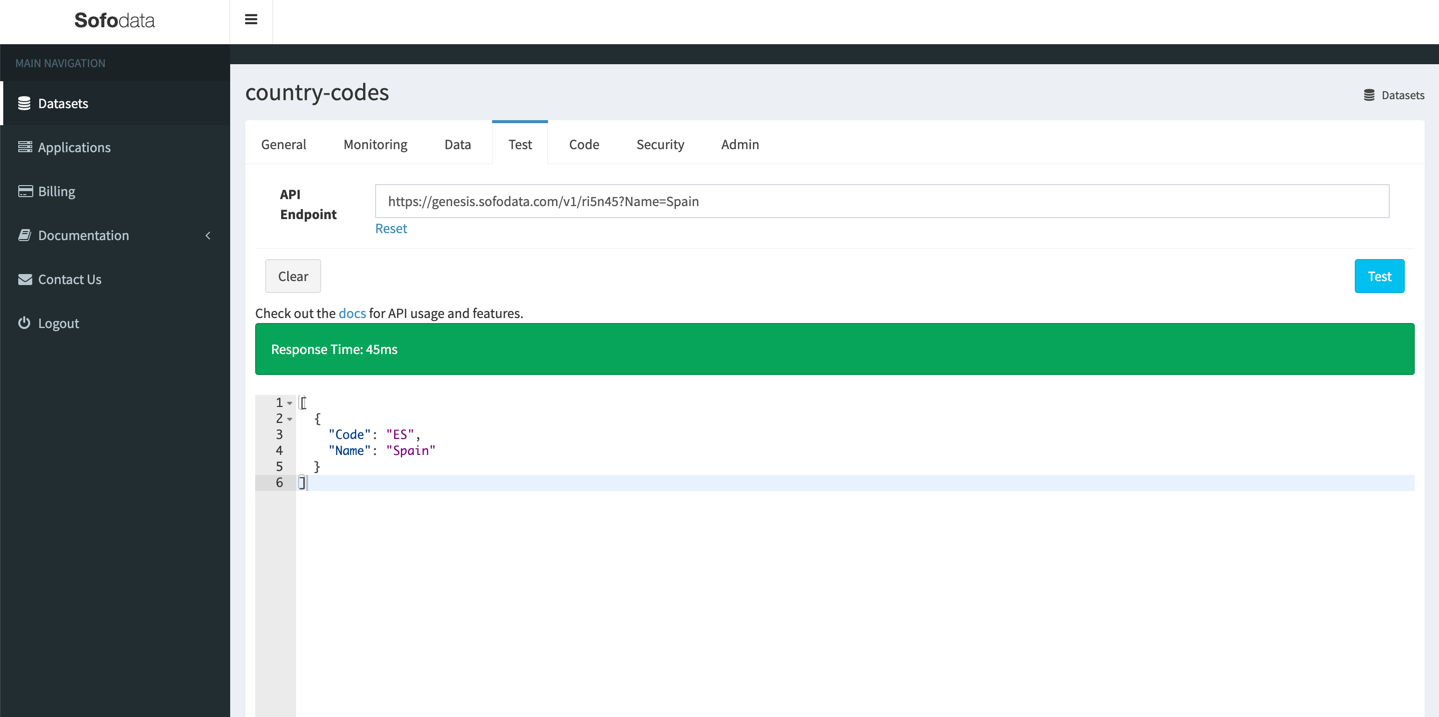
Step 8 - Query Parameters
The datasets API supports a number of query parameters that’s allows filtering results by column values or limiting the number of results.
In this example we want to filter results by the column Name, therefore the url should look something like https://genesis.sofodata.com/v1/ri5n45?Name=Spain.
Modify the url and append ?Name=Spain to it and click the Test button again.
The API response should be as we outlined in the overview.
Summary
Congratulations!!!
In this post you learned how you can use Sofodata to provision the country-codes.csv as a Secure RESTful API in a few minutes, with no coding or operations work required. Time to grab a well-deserved coffee.